Hello Friends! 🙏. Today we will setup Vue Js project without CLI and this is the best way to learn Vue 3 project environment.
Vue CLI provides a command, that can setup Vue JS project easily, most of the developers use it for saving time ⏳ & offcourse saving brain 🧠 too 😁 but they skip most of the important things used behind the scenes to build a project and later when they are told to do any changes in the setup, they had no idea about the same 😯.
So to help understanding behind the scene technologies, in this Vue JS tutorial, we will setup Vue 3 with Webpack, from scratch, without using Vue CLI😎. And while doing that, we will explore all dependencies needed to setup vue 3 with Webpack.
Chalo suru kiya jaye!🍻 Lets start! 🕺
Step 1: Install/Upgrade/Verify Node
To start with setup Vue 3 project, first please verify if your machine has node v >= 14 & npm v >=5.6.
If not, then install node package here.
While upgrading node package on my machine to latest version: 16.13.1 which includes npm 8.1.2, I faced one issue, may be you also get this type of error, check here to resolve it: WARN npm does not support Node.js v16.13.1
Step 2: Initialize a folder
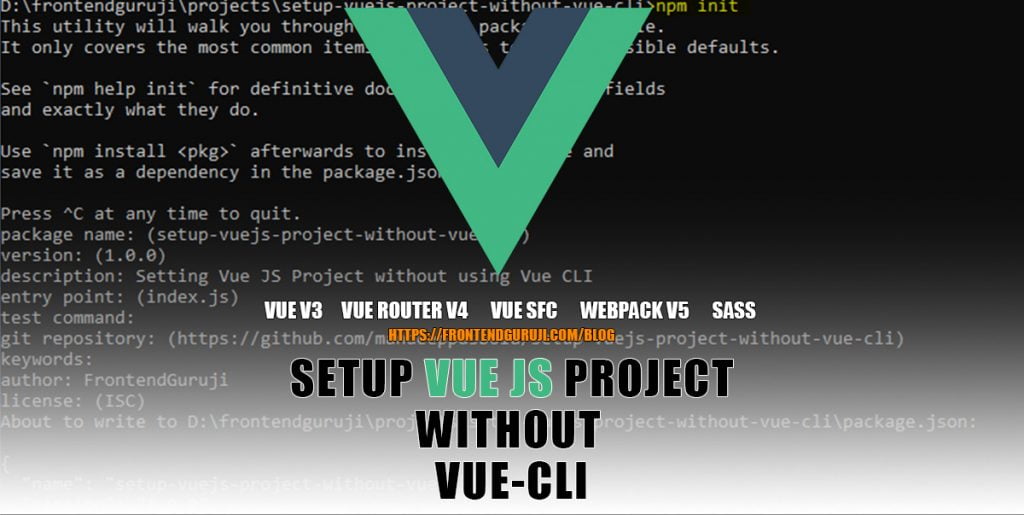
So friends! first thing we have to do is to create a blank folder 📁 & initialize it using below command
npm initThis command will run a wizard of questions/choices related to the project & we have to answer/select them. This basically creates a package.json file which will include all our answers/selections.

Step 3: Setup Vue JS Project without CLI – Adding Dependencies
Adding Vue 3
To use Vue JS v3 we need core vue package that contains the functionality needed to define Vue components.
As we have installed the latest vue-router@4 package i.e. v4, there are many breaking changes. So better read the v4 documentation before diving into it.
npm install vue@next vue-router@4vue/compiler-sfc is Vue JS compiler and used to convert our Vue files into JavaScript. Needed for Single File Components (SFCs)
npm install --save-dev @vue/compiler-sfcAdding Babel – JS Compiler
Babel is a compiler which converts ES6 code to ES5 code, so that older browser can also run the application.
So basically It lets us write modern JavaScript code that still works in older browsers.
npm install --save-dev @babel/core @babel/preset-envbabel/core contains the main babel functionality i.e. converting the modern JS to ES5.
babel/preset-env this is helpful for multiple syntax transforms/browser polyfills that are needed by the target environment/browsers.
Adding Webpack – Bundler
Webpack is a bundler for modern JS projects, this basically combines all the modules used in the project to one or multiple bundles
npm install --save-dev webpack webpack-cli webpack-dev-serverwebpack contains the core functionality and webpack-cli is to run webpack from command line.
webpack-dev-server is to view projet in browser locally while development.
By default Webpack process only JS files and to process other assest like images, CSS & HTML it requires loaders, below are some basic loaders:
npm install --save-dev babel-loader vue-loader@next html-loader css-loader vue-style-loader
babel-loader: loader for babel files
html-loader: loader for HTML files
vue-loader@next: loader to author Vue v3 components in a Single-File Components (SFCs) format
css-loader: loader for CSS files
vue-style-loader: it similar to webpack style-loader and dynamically inject CSS into the document as style tags and used by default in vue-loader, needed for Single File Components (SFCs)
Optional: To use CSS preprocessors like SCSS, you will have to install sass-loader & sass.
npm install --save-dev sass-loader sassBy default Webpack bundles CSS into JS, to generate seperate CSS file, you will have to install mini-css-extract-plugin
npm install --save-dev mini-css-extract-plugin
Now we need a HTML page to inject all the files/bundles generated by Webpack. For that we need to add html-webpack-plugin.
npm install --save-dev html-webpack-pluginNow our package.json file looks like this:

That’s all in the dependencies 😅, lets jump to create an App then some configurations and then will try to run it 🕺.
Step 4: Creating ‘Hello World’ Vue App
Create src folder📁 and then create a component App.vue in it, here we are using Single File Components (SFCs).
This means we will be declaring template, styles and script in the same file.
// sr/App.vue
<script>
export default {
  data() {
    return {
      greeting: "Hello, World!",
    };
  },
};
</script>

<template>
  <div class="message">{{ greeting }}</div>
</template>

<style lang="scss">
@import "./styles.scss";
</style>
Now create a style for the App component styles.scss.
// src/styles.scss
.message {
    text-align: center;
    font-size: 30px;
}
Now we need to create the main entry file (index.js) which will render the app in a DOM element having id=”root“, this element we will create later in this tutorial.
Here vue-router will be handling the application routes.
createRouter method requires history and routes array. Here we have:
Hash history mode is created with createWebHashHistory(): It uses a hash character (#) in URL, which is not good for SEO.
HTML5 history mode is created with createWebHistory(): It uses normal url and this is the recommended one.
// src/index.js
import * as Vue from "vue";
import * as VueRouter from "vue-router";
import App from "./App.vue";

const routes = [{ path: "/", component: App }];
const router = VueRouter.createRouter({
  routes,
  history: VueRouter.createWebHistory(),
});

const app = Vue.createApp(App);
app.use(router);
app.mount("#root");
Step 5: Configure Webpack
Now we will have to configure webpack, webpack-dev-server, loaders and plugins that we installed above 😅, lets start!
Create a blank webpack configuration file webpack.config.js in the root folder and start adding the below configurations.
Below is the main configuration for webpack, here you have to give the entry point of the file (index.js in our case) and output path for the generated bundles (dist in our case). Empty configurations like devServer, rules, plugins will configure one by one below.
// /webpack.config.js
// imports
const path = require('path');

// module
module.exports = {
  mode: 'development',
  entry: './src/index.js',
  output: {
    path: path.resolve(__dirname, 'dist')
  },
  devServer: {},
  rules: [],
  plugins: []
};
Now we will configure loaders in module rules: [] defined above
Configure SCSS.
Note: Loaders are evaluated/executed from bottom to top.
Here execution starts with sass-loader, continues with css-loader and finally ends with style-loader.
{
  test:/\.scss$/,
  use: [{
      loader: 'style-loader'
    },
    {
      loader: 'css-loader'
    },
    {
      loader: 'sass-loader'
    }
  ]
}
Configure vue-loader
{
  test: /\.vue$/i,
  exclude: /(node_modules)/,
  use: {
    loader: "vue-loader",
  },
}
Configure Babel
babel-loader configuration.
options.preset will tell babel to use these presets while compiling the code.
{
  test: /\.(js|jsx)$/,
  exclude: /(node_modules)/,
  use: {
    loader: 'babel-loader',
    options: {
      presets: ["@babel/preset-env"],
    },
  }
}
Configure html-loader
{
  test: /\.html$/i,
  loader: "html-loader",
}
Configure plugins
mini-css-extract-plugin will extract the styles.css from bundle and generates a seperate file.
html-webpack-plugin will create html file at dist/index.html and will automatically inject all the webpack generated files along with the CSS gerenated by mini-css-extract-plugin.
// add in imports
const MiniCssExtractPlugin = require("mini-css-extract-plugin");
const HtmlWebpackPlugin = require('html-webpack-plugin');
const { VueLoaderPlugin } = require("vue-loader");

// add in plugins array
new VueLoaderPlugin(),
new MiniCssExtractPlugin(),
new HtmlWebpackPlugin({
  template:"./src/index.html"
})

// add in rules array
{
  test: /\.css$/i,
  use: [MiniCssExtractPlugin.loader, "css-loader"],
},
for html-webpack-plugin we need to create a html template which will be used by this plugin to inject the scripts & styles generated by webpack. For tha create index.html file inside src folder 📁. This html will contain the element having id=”root“, this will be the element where app will load.
<!DOCTYPE html>
<html lang="en">
  <head>
    <meta charset="UTF-8" />
    <meta http-equiv="X-UA-Compatible" content="IE=edge" />
    <meta name="viewport" content="width=device-width, initial-scale=1.0" />
    <title>Hello World App</title>
  </head>
  <body>
    <div id="root"></div>
  </body>
</html>
Configure webpack-dev-server.
It needs directory which must be path to the dist folder and a port to run on. If you want webpack to open the App in browser automatically provide open: true.
devServer: {
  static: {
    directory: path.join(__dirname, 'dist'),
  },
  port: 9000,
  open: true
}
Check here the final webpack.config.js file.
Step 6: Adding build commands
To build or run the project we will have to add some commands in package.json file under scripts property.
"scripts": {
  "start": "webpack-dev-server",
  "build": "webpack"
}
start command will execute webpack-dev-server which will build the project in memory and load the page on the browser.
build command will build the project in dist folder with all the files.
Check here the final package.json file.
Now the final moment😅 🥳🥳
npm run start // to start the app in browser
npm run build // to generate the dist folder with files
And in source view, you can see the injected JS and Style file.

Thats all in this Vue JS tutorial, here we learned how to setup Vue 3 project from scratch without using Vue CLI and also learned how to configure webpack, configure babel, configure Webpack loaders and plugins, added build commands.
❓If you have any question or suggestion, please feel free to comment.
Thanks🙏.